Mon - Sat 7:00 am to 7:00 pm
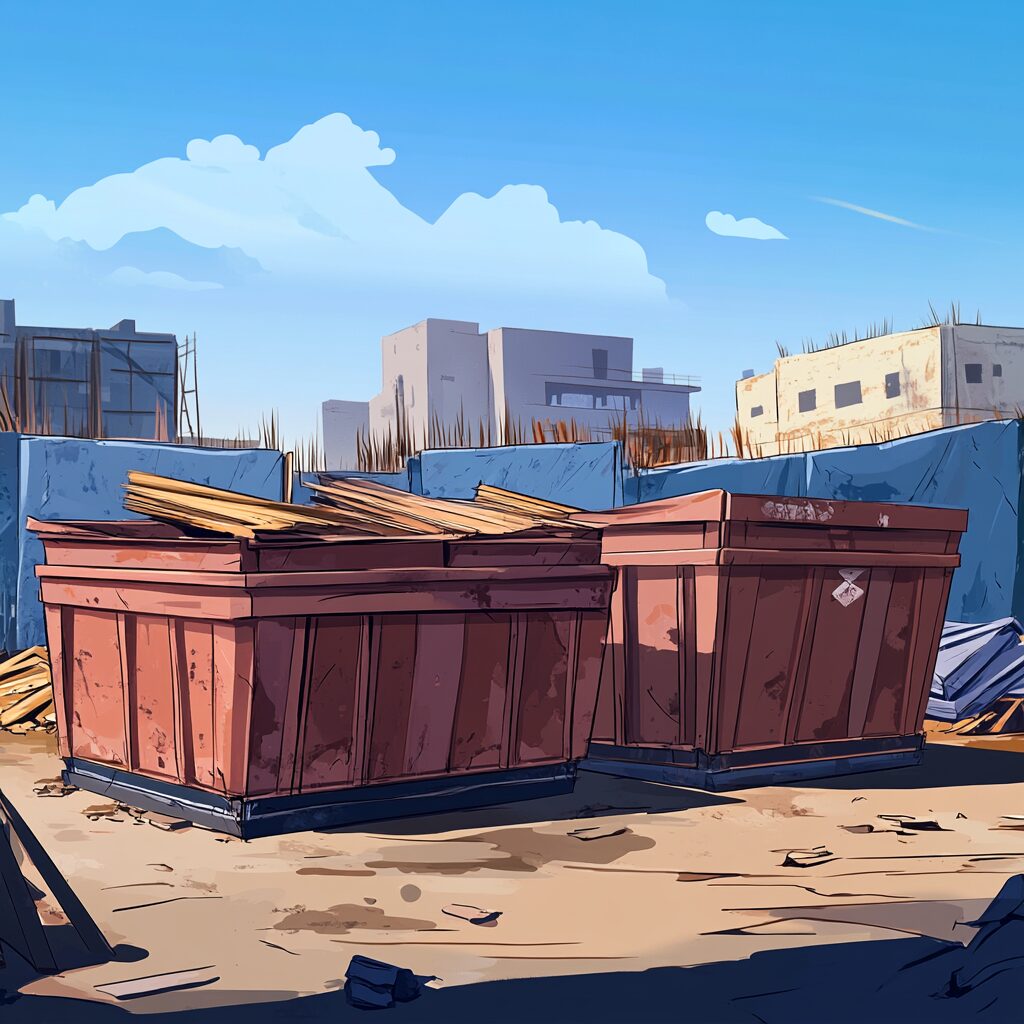
Where Do I Put a Rented Dumpster on a Construction Site?
Imagine this: Your crew is ready to roll, but the dumpster delivery truck can’t reach the drop-off zone. Or worse—that 30-yarder tips over because it’s on uneven ground.
First rule about where to put a rented dumpster on a construction site? Always choose stable ground. A flat surface prevents shifting and protects nearby structures. If the terrain’s questionable, plywood sheets can save the day. Leave enough clearance for doors to swing open—no one wants to play Tetris with debris.
Correct size also plays a starring role. Smaller containers work for residential upgrades, while major builds demand heavy-duty options. And yes, local permits might dictate placement rules—details we’ll unpack later.
From residential remodels to commercial builds, proper container placement prevents the frustrating workflow disruptions and potential hazards that come with poorly positioned waste management solutions. At Prime Dumpster, we’ve seen how strategic container positioning transforms chaotic job sites into well-organized work environments.
Here’s where to put a rented dumpster on a construction site.
5 Tips for Construction Site Dumpster Placement
Consider these essential placement tips to maximize efficiency and safety when positioning waste containers on your construction site:
- Prioritize Ground Stability: Always place containers on flat, compacted surfaces to prevent shifting, tipping, or sinking during loading operations—use plywood sheets under the container on softer ground or to protect finished surfaces from potential damage.
- Maintain Accessibility: Position dumpsters where delivery trucks have clear access (requiring approximately 12 feet of width clearance) and where your crew can easily load debris without creating bottlenecks—avoid areas near power lines, overhanging trees, or narrow passages.
- Consider Workflow Efficiency: Place containers close to the primary source of debris generation but not directly in high-traffic pathways—optimal positioning allows workers to dispose of materials with minimal travel distance while maintaining smooth site circulation.
- Account for Safety Zones: Keep dumpsters at least 10 feet away from buildings, scaffolding, and active work zones to prevent falling debris hazards and create adequate clearance for emergency access routes that must remain unobstructed.
- Verify Permit Requirements: Check local regulations before placing containers on public streets or sidewalks, as many municipalities require special permits with specific placement guidelines—some areas restrict duration, require reflective markings, or mandate specific setback distances from intersections and fire hydrants.
These strategic placement considerations help transform waste management from a potential obstacle into a seamless component of your construction operation.
Site Assessment: Evaluating Where to Position Your Dumpster
Ever watched a dumpster play hide-and-seek with a delivery truck? Not as fun as it sounds. Smart placement starts with a thorough walk-through of your work area. Grab your boots—we’re going ground-level.
Assessing Terrain and Surface Conditions
Start by stomping around the proposed drop zone. Look for soft spots, slopes, or loose gravel that could shift under weight. If the ground feels like a trampoline, lay plywood sheets to create a stable base. This simple fix prevents container tilt and protects paved surfaces from scratches.
“Sinking dumpsters sink budgets. When your container sinks into soft ground, you’re not just paying for relocation and potential damage, but also for the crew downtime and schedule delays that could have been prevented with proper site assessment,” says the Prime Dumpster Pro
Ensuring Clear Access and Safe Delivery
Delivery drivers need a 12-foot-wide path—roughly two shopping carts side-by-side. Scan for low-hanging branches, parked equipment, or buried sprinklers that could block trucks. Mark temporary no-park zones around the delivery route. Remember: Easy in-and-out access speeds up debris removal and keeps your project timeline intact.
“Use spray paint or cones to outline the container’s footprint a day before arrival. It’s a simple, visual check that helps crews spot drainage issues or overhead hazards early,” says the Prime Dumpster Pro
Where to Place Rented Dumpsters on Construction Site
Think fast—your crew’s productivity hinges on how well you map out that metal box’s parking spot. For jobsite managers, balancing workflow efficiency with safety protocols isn’t optional. Let’s break down what really matters when plotting your debris strategy.
Jobsite Layout Essentials
Measure twice, position once. Start by sketching your work area to identify dead zones and high-traffic corridors. A 20-yard container needs about 22 feet of clearance—roughly the length of two parked pickup trucks. Residential upgrades? Tuck rentals near driveways for easy loading. Commercial projects? Keep materials flowing by placing units near loading docks.
Smart spacing prevents “debris dominoes.” Leave room for equipment to maneuver and workers to toss scraps safely. One contractor learned the hard way when blocked exits delayed disposal by three days—don’t let that be your team’s story.
Navigating Permit Protocols
Local rules aren’t suggestions. Many cities require permits for street placements, while suburban neighborhoods often restrict rentals to private property. Check municipal websites or call zoning offices before delivery day.
- Research parking restrictions and time limits
- Submit applications at least 72 hours early
- Confirm weight limits with your disposal provider
Paperwork might feel like a buzzkill, but fines hurt worse.
Prime Dumpster Pro Tip: Snap photos of approved permits and share them with your rentals team. It keeps everyone aligned and avoids mid-project hiccups.
Selecting the Right Dumpster Size for Your Construction Project
Here are the major sizes of rolloffs you’ll find on construction sites nationwide:
- 10-yard: Fits 3 pickup truck loads—ideal for bathroom remodels or garage cleanouts
- 15-yard: Handles single-room demolition debris or medium roof replacements
- 20-yard: Perfect for multi-room renovations or small commercial upgrades
- 30-yard: Accommodates significant debris from larger residential projects, extensive renovations, or smaller commercial construction.
- 40-yard: The T-Rex of containers—devours entire home teardowns or large-scale builds
Size Matters—Here’s Why
Construction managers today swear by the Goldilocks rule: Too small means overflow fees. Too big wastes money on unused space. Measure your project’s waste volume before calling a dumpster rental service. A kitchen remodel? 15 yards usually covers it. Building from scratch? Go big with 40 yards.
Smart sizing boosts waste management efficiency. Overfilled units become safety hazards, while half-empty ones drain budgets. Pro tip: Ask your rental service for debris calculators—they’ll help predict needs better than a Magic 8 Ball.
Need help today? Compare options:
- Smaller containers = lower upfront costs, better for tight spaces
- Larger construction dumpsters = fewer hauls, reduced long-term expenses
Understanding Different Dumpster Types and Their Applications
Choosing between dumpster types feels like picking shoes for a marathon—get it wrong, and you’ll limp through cleanup. Construction projects demand containers that match their debris profiles. Let’s unpack which options work best for your specific needs.
Roll-off Dumpsters vs. Specialized Containers
Standard roll-offs are the Swiss Army knives of waste management. They handle mixed debris from renovations or demolition. But specialized containers? Those are your power tools. Concrete disposal requires reinforced steel bins to prevent cracks. Roofing jobs need containers with lower walls for safer shingle tossing.
- Roll-offs: Ideal for general construction waste like drywall, wood scraps, and packaging
- Recycling containers: Separate metals, plastics, or clean wood for eco-friendly disposal
- Heavy-duty options: Built for concrete chunks, bricks, or asphalt—materials that break lesser bins
Material Matters in Container Selection
Ever tried stuffing a mattress into a trash compactor? That’s what happens when materials don’t match the container. Roof debris often contains nails and sharp edges—use puncture-resistant units. Concrete loads require flat floors to distribute weight evenly. Always account for material density when you rent dumpsters.
Load limits aren’t suggestions. Overloading risks fines and pickup delays. Check your rental guide for maximum weights—most standard units cap at 4 tons. For bulky items like appliances, confirm disposal rules with local regulators first.
Smart waste management starts with pairing materials to the right container. Get this right, and your crew spends less time wrestling debris and more time building.
Enhancing Waste Management Efficiency with Smart Placement Strategies
Waste management on a project site works best when treated like a precision dance—every move matters. Smart positioning isn’t just about location. It’s about creating systems that keep debris flowing smoothly while protecting your team and timeline.
Optimizing Loading Practices and Weight Distribution
Think of your container as a layered cake. Heavy materials like concrete belong at the bottom. Lighter items like insulation go on top. This prevents uneven weight that could tip units or damage truck axles during pickup.
Stick to the fill line—piling debris higher than the walls risks spills and fines. For awkward items like pipes, angle them diagonally to maximize space without compromising balance.
Coordinating Delivery and Pickup Schedules
Timing is everything. Schedule delivery after clearing access routes but before major demolition begins. Most companies need 24–48 hours notice for pickup.
Prime Dumpster Pro Tip: Mark your calendar for mid-project swaps if debris piles up faster than expected.
- Confirm exact delivery windows with your provider
- Track daily waste output to predict pickup needs
- Share site closure dates to avoid holiday delays
Always request a written quote detailing weight limits and regulations. Building departments in cities like Houston issue fines for containers left past permit dates. Keep your company’s contact on speed dial—quick calls prevent logjams when plans change.
What to Expect from Our Construction Dumpster Rental Services
Where should you put a rented dumpster on a construction site? By taking time to assess terrain conditions, plan for delivery vehicle access, and position your container where it maximizes workflow without creating obstacles, you transform waste management from a potential problem into a seamless aspect of your construction process.
Prime Dumpster provides nationwide construction waste management solutions with expert placement guidance, serving projects from residential remodels to commercial builds, with offices in Charleston, Jacksonville, New Orleans, and nationwide throughout the United States.
Contact our client support team to discover how strategic dumpster placement can enhance your site management, improve crew productivity, and ensure safe, efficient debris removal throughout your project timeline.
If you are looking for When to Schedule a Construction Dumpster Rental, Click Here
Recent Posts


Follow Us
Have any questions?
+1 844 853 3867
Give us a call today so we can help you find the right waste & sanitation solution for
your project!
Contact Us