Mon - Sat 7:00 am to 7:00 pm

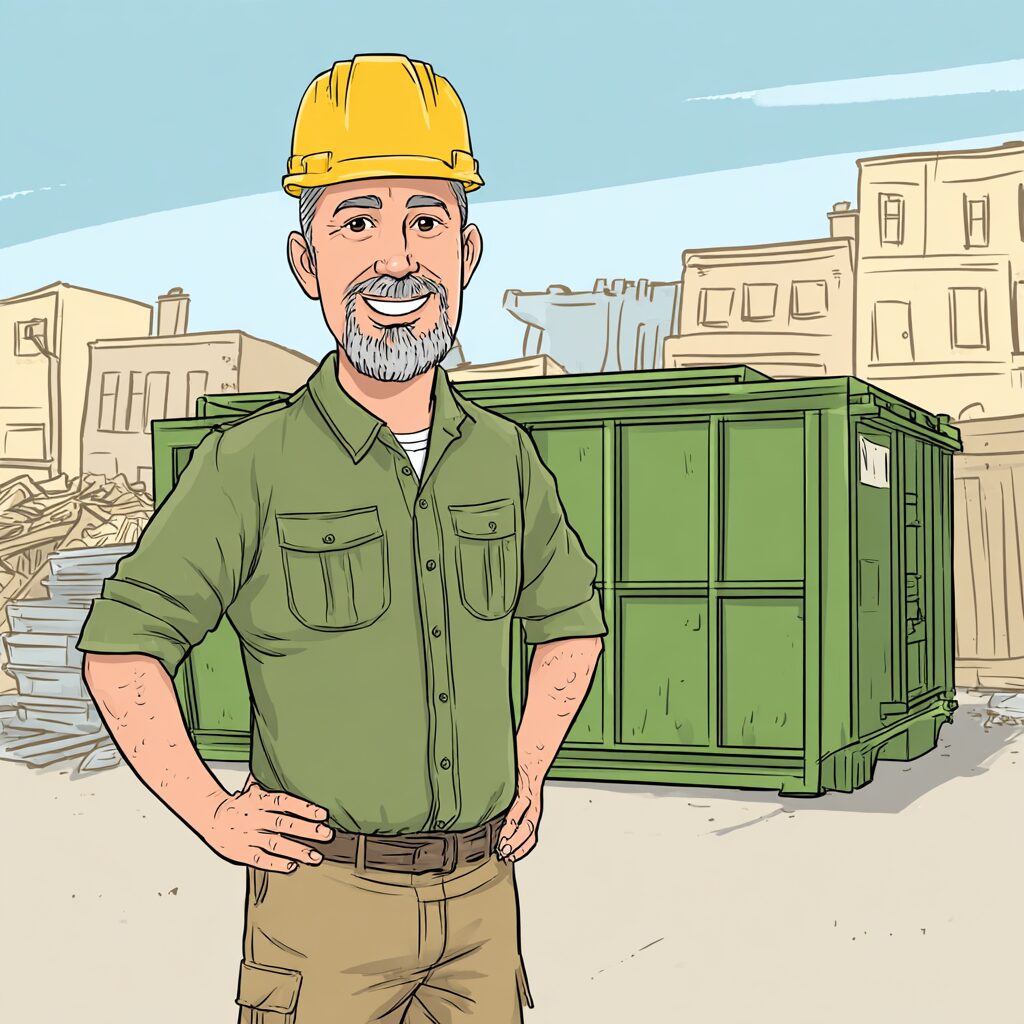
Rented Dumpster Playbook: Loading Strategies and Material Management
Your roll-off container just arrived – now it’s time to make the most of every cubic yard. Smart rented dumpster loading strategies can save you hundreds of dollars in overage fees while keeping your project on track and your team safe.
At Prime Dumpster, we’ve coordinated waste disposal for over 43,000 projects nationwide, and we’ve seen how proper loading techniques transform chaotic cleanup into streamlined operations. Our guide covers the professional strategies that maximize space, ensure safety, and help you avoid costly mistakes during the loading process.
Fast Facts: Expert Loading Tips
We asked the Prime Dumpster Pros for their top tips on loading rented dumpsters efficiently and safely. Here’s what they shared:
Q: What’s the biggest mistake people make when loading their dumpster?
“The biggest mistake is just throwing everything in randomly without any plan,” says a Prime Dumpster Pro. “People end up with a half-full container that’s already at weight limit because they put all their concrete and heavy debris in first.”
Q: Should I fill the dumpster from one end or spread materials around?
“Always distribute your load evenly across the entire container,” says a Prime Dumpster Pro. “Loading everything on one side can make the container unstable during pickup and transport.”
Q: How can I fit more materials without going over the weight limit?
“Think of it like playing Tetris – break down bulky items, fill gaps with smaller debris, and layer systematically,” says a Prime Dumpster Pro. “You’d be amazed how much more you can fit when you take five minutes to plan your approach.”
Q: What’s the most important safety rule for loading?
“Never throw anything into the dumpster from above shoulder height,” says a Prime Dumpster Pro. “Walk materials to the edge and place them carefully – it protects both you and anyone else who might be nearby.”
Effective Rented Dumpster Loading Strategies
Now that your container is on-site, let’s get it filled the right way. Smart packing makes all the difference. It turns a messy pile into a stable, safe load.
Think of it like packing a car for a big trip. You wouldn’t just toss everything in. You plan it out.
Sorting Materials for Optimal Load
Before anything goes in, sort your materials. Separate recyclables, reusables, and actual waste. This prevents contamination.
Create distinct piles on your site. Metals, clean wood, and certain plastics often have a second life. Donating or recycling these items is better for the environment.
This step streamlines the entire disposal process.
Balancing Heavy and Light Items
Place lighter items toward the bottom. It sounds odd, but it works. Heavier materials loaded on top will compress and secure them.
This prevents lightweight debris from blowing out during transport. Bag up small, loose pieces before placing them in the container.
Alternate between heavy and light items as you fill the bin. This creates natural compression, eliminates air pockets, and maximizes space.
For bulky objects like furniture, see if they can be disassembled. Broken-down pieces fit more efficiently.
Always distribute materials evenly from multiple sides. This ensures a balanced, stable load that’s safe for the road.
Tips for Organizing and Maximizing Dumpster Space
Think of your container as a giant 3D puzzle – every piece needs to fit just right. We’ll show you how to squeeze maximum value from every cubic foot.
Proper organization turns chaos into efficiency. You’ll fit more materials without needing a larger unit.
Layering Items for Stability
Start with a solid foundation. Place your heaviest, flattest materials at the bottom. Plywood, paneling, or flattened boxes create a stable base.
Build upward systematically. Compact each layer before adding the next. Have team members walk on safe materials or use tools to compress debris.
This eliminates air pockets that waste valuable space. Your load becomes more stable and dense.
Filling Gaps to Enhance Capacity
Look for empty spaces between larger items as you work. These gaps represent wasted capacity you’re paying for.
Use smaller debris to fill these voids effectively:
- Bagged lightweight materials
- Oddly shaped items
- Containers and shelving components
- Non-hazardous household garbage
Break down boxes and collapse containers before loading. Bulky items in their original form consume unnecessary space.
Work systematically across the entire surface area. This ensures consistent density throughout your container.
Special Considerations for Different Material Types
Different materials require different handling techniques for optimal space utilization. What works for construction debris won’t apply to household goods.
Each material category has unique requirements. Understanding these differences prevents problems during disposal.
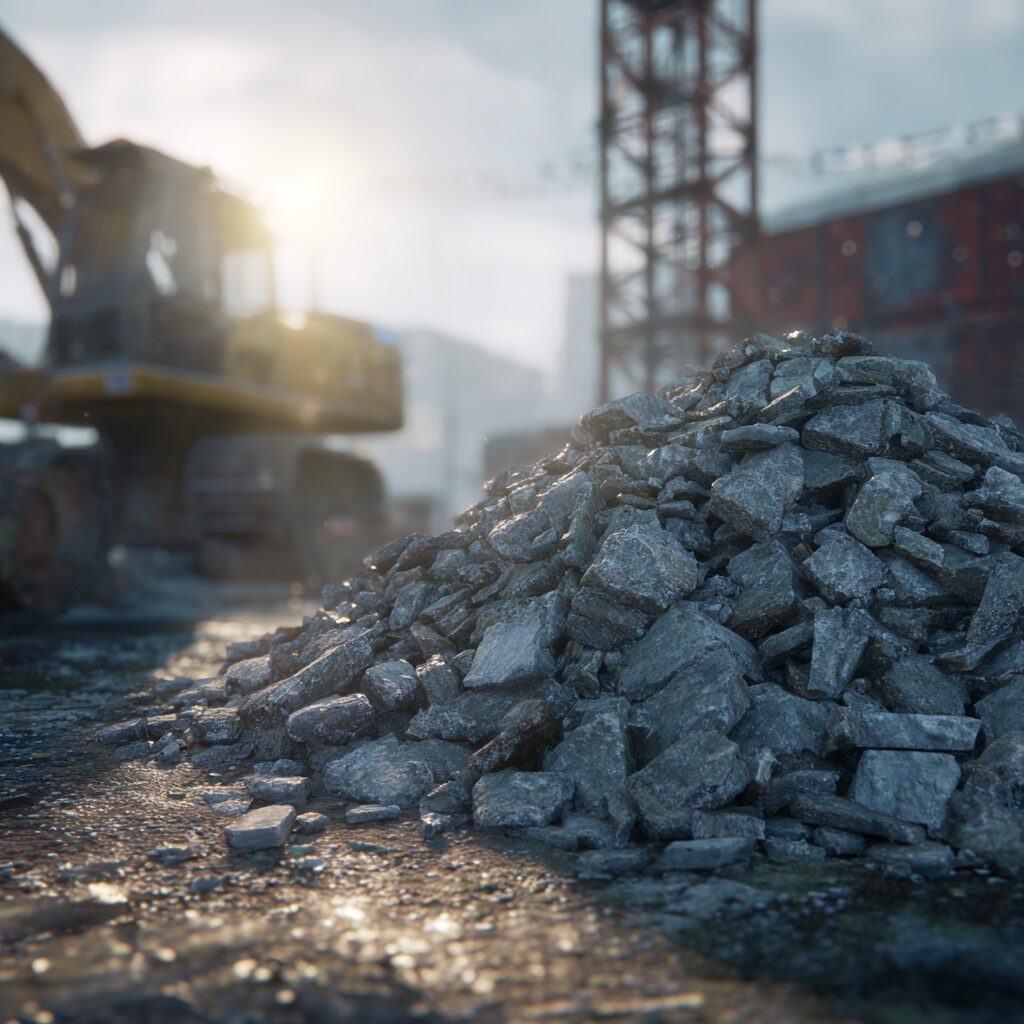
Handling Construction Debris and Hazardous Waste
Construction materials like lumber and drywall need special attention. Separate these items from other waste streams.
Hazardous materials require careful handling. Paint, chemicals and batteries cannot go into standard containers.
Contact your provider about proper disposal methods for restricted items. Mixing prohibited materials can lead to rejection.
Preparing Bulky Items and Disassembling Large Pieces
Furniture and other large items take up significant space. Disassembling them creates more efficient loading patterns.
Break down boxes and cut long materials into manageable pieces. This approach maximizes your container’s capacity.
Remove recyclable components before disposal. Metal fixtures and wooden elements might have separate processing requirements.
Managing Weight Distribution and Safe Loading Practices
Let’s talk about the physics of your waste container – getting the weight right matters more than you might think. Proper distribution prevents dangerous shifting during transport and keeps everyone safe.
Think of it like loading a moving truck. Balance is everything. An uneven load can cause tipping or instability when the truck hits the road.
Securing Lightweight Items to Prevent Shift
Start by placing lighter materials toward the bottom. Heavier items on top will naturally compress them. This prevents lightweight debris from becoming airborne during transportation.
Bag up small, loose pieces before they go in. Contain them in the center where weight will hold them down. This simple step makes a huge difference in safety.
Ensuring Even Distribution to Avoid Overloading
Spread heavy items across the entire container bottom. Don’t concentrate weight in one area. Walk around the unit and add materials from different sides.
Check your progress periodically. Make sure layers remain even as you work. This prevents one-sided buildup that could make the container unsteady.
Respect the fill line marked on every rental unit. This isn’t a suggestion – it’s a safety requirement. Materials above this line can blow out during transport.
Keep your load level with or below the fill marker. This compliance prevents additional fees and keeps roads safe. It also ensures your materials will be accepted at disposal facilities.
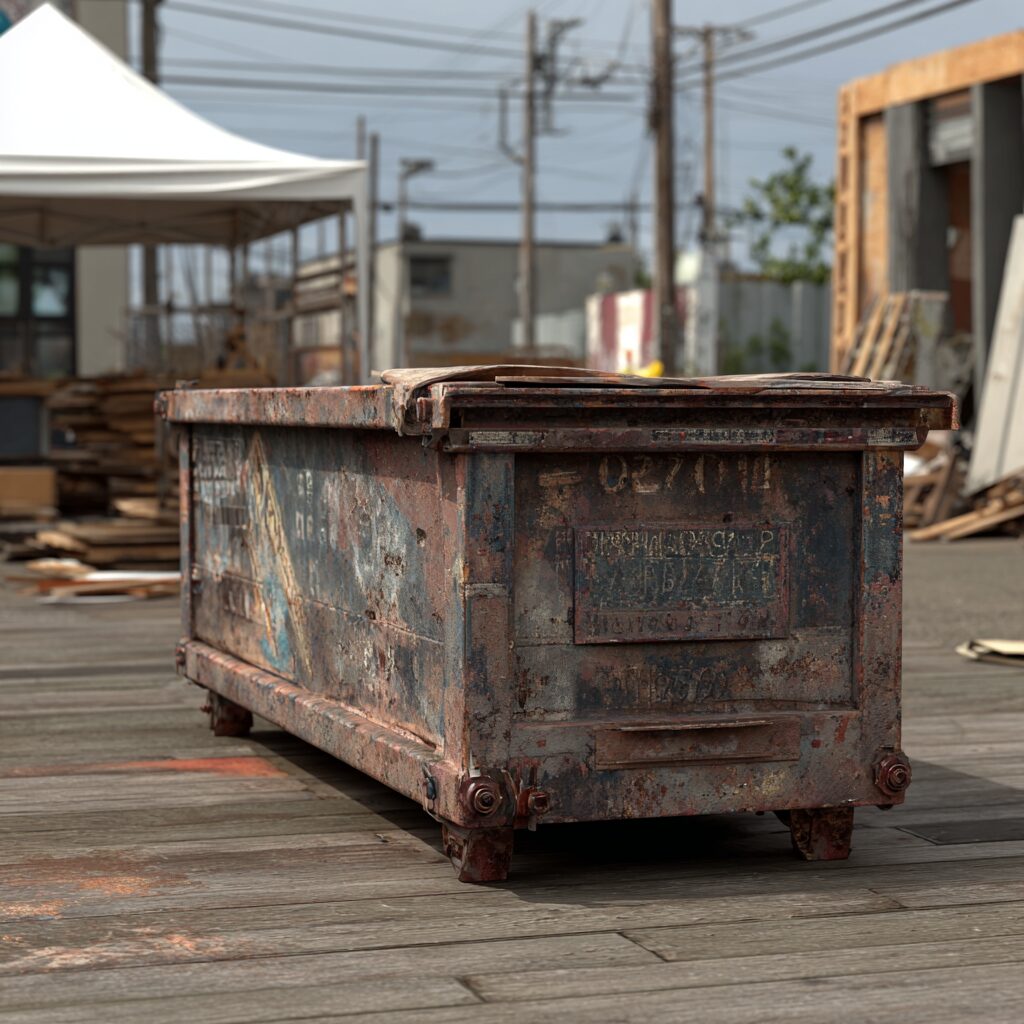
Different Dumpster Sizes and Their Uses
Getting the size right for your container is a big deal. It directly affects your budget and project flow. The goal is to match the unit’s capacity to your actual debris output.
Let’s break down the common roll-off container options.
Assessing Your Project Needs
Start by evaluating the scope of your work. Consider the volume of materials you need to remove. Think about the project’s duration.
An accurate assessment prevents two common problems: paying for empty space or running out of room. Always discuss your specific job details with your provider. Their experience is invaluable for making the best choice.
Choosing from 10, 15, 20, 30, and 40-Yard Options
Each container size serves a distinct purpose. Here’s a quick guide:
- 10-yard: Ideal for small jobs like a garage cleanout or a minor bathroom update.
- 15-yard: A step up for medium-sized kitchen remodels or deck removals.
- 20-yard: The workhorse for larger renovations and roofing projects.
- 30-yard: Suited for major construction or large-scale cleanouts.
- 40-yard: Maximum capacity for big demolition or major commercial projects.
Keep in mind dense materials, such as concrete, typically need a 10-yard dumpster, due to weight restrictions. Make sure and discuss the details with your rental partner during booking.
Professional Rented Dumpster Loading Strategies: Maximize Space and Safety for Any Project Size
Implementing these rented dumpster-loading strategies keeps your project efficient, safe, and within budget. Smart material organization isn’t just about filling space—it’s about protecting your investment and keeping operations smooth from start to finish.
At Prime Dumpster, our nationwide expertise and commitment to excellence helps ensure your waste management runs seamlessly from delivery to pickup. Trust the professionals who’ve coordinated thousands of successful projects to keep your operations running smoothly. Contact us for more information on dumpster rentals for construction, events, and other waste management needs nationwide.
If you are looking for Tariffs for Construction Dumpster Rentals: Beginner-Friendly Guide, Click Here
Recent Posts


Follow Us
Have any questions?
+1 844 853 3867
Give us a call today so we can help you find the right waste & sanitation solution for
your project!
Contact Us