Mon - Sat 7:00 am to 7:00 pm
Emergency Dumpster Preparation Tips for 2026
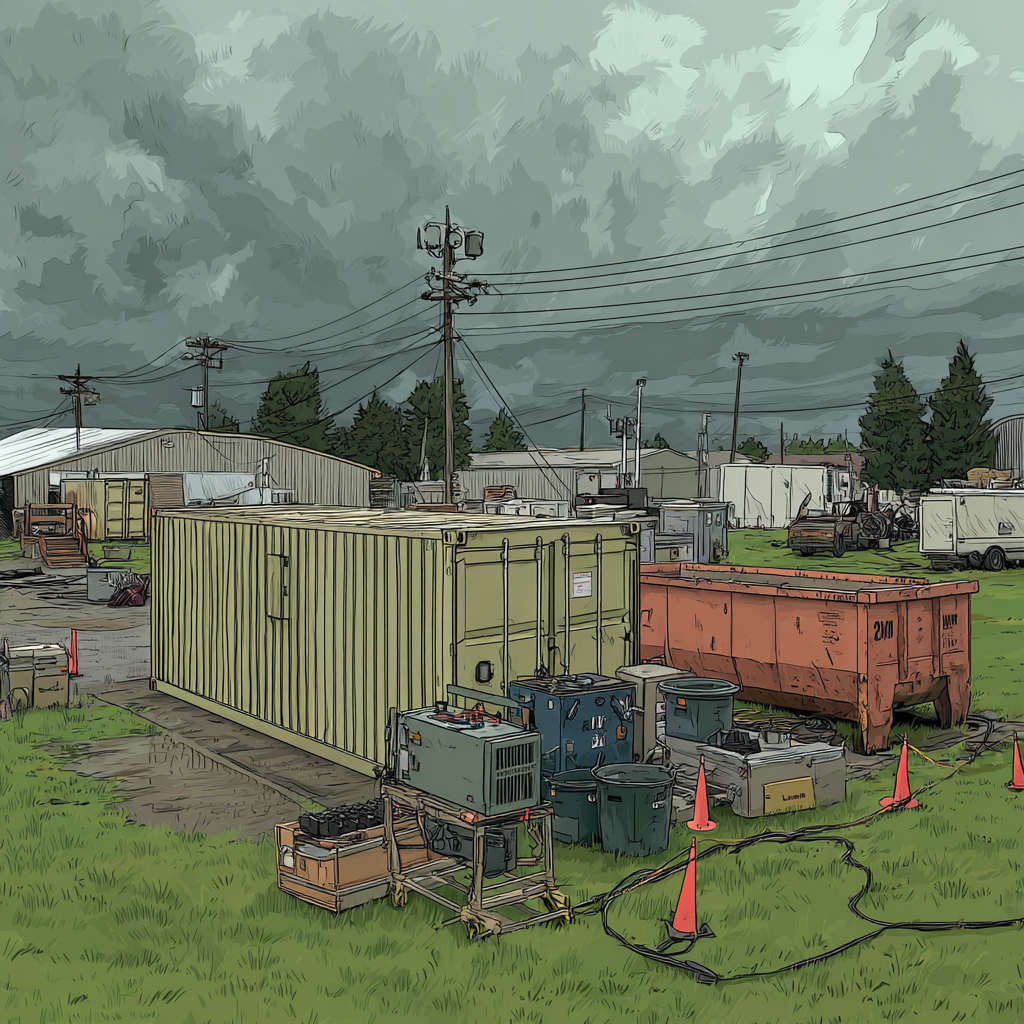
Natural disasters create massive debris volumes that can overwhelm unprepared communities and stall recovery efforts for weeks. Storms, floods, and other emergency events generate thousands of tons of waterlogged materials, structural debris, and damaged household contents that require immediate removal to restore public safety and begin reconstruction.
At Prime Dumpster, we’ve coordinated emergency waste management for disaster response teams, government agencies, and relief organizations where rapid deployment and proper container selection directly impact recovery timelines.
Our preparation guide covers container sizing for different disaster scenarios, site safety protocols, placement strategies, and coordination techniques that enable effective debris removal when communities need it most.
Fast Facts: Emergency Dumpster Preparation for 2026
“Emergency situations create completely different waste management challenges than standard construction projects, with disaster debris volumes that can overwhelm unprepared communities and waterlogged materials that triple normal container weights,” says a Prime Dumpster Pro.
“Hurricane cleanup can generate 50 times more debris than normal operations, while flood recovery produces contaminated materials requiring special handling protocols, so advance planning and pre-negotiated agreements become essential for rapid response when disasters strike.”
Emergency Dumpster Preparation Essentials:
- Pre-disaster agreements with multiple rental providers across wider geographic areas ensure equipment availability when regional demand spikes dramatically during widespread emergency events
- Site safety protocols require thorough inspection for damaged infrastructure, unstable ground conditions, and compromised utilities before container placement in disaster-affected areas
- Container sizing strategy must account for waterlogged materials weighing significantly more than dry debris, requiring smaller loads and frequent exchanges during flood recovery operations
- Prohibited material identification becomes critical as disasters mix hazardous substances with acceptable debris, demanding trained personnel to separate contaminated materials safely
- Coordination procedures with emergency operations centers prevent waste management activities from interfering with rescue operations and utility restoration efforts
Understanding these emergency-specific preparation factors helps response teams develop waste management protocols that support rapid community recovery while maintaining safety standards during chaotic disaster conditions.
Emergency Dumpster Preparation
Planning your debris removal strategy starts with understanding the range of available container options. Rolloff containers come in five standard sizes measured in cubic yards. Each size serves specific disaster response scenarios that planners need to match with anticipated debris volumes.
Rolloff Dumpster Sizes for Disaster Response
The 10-yard option works well for localized damage like single-structure flooding. It holds about 4 pickup truck loads and fits in tight residential areas.
A 15-yard container suits moderate damage scenarios such as roof repairs after storms. This size accommodates approximately 6 pickup truck loads.
The 20-yard size serves as the versatile middle option for estate cleanouts after displacement. It handles roughly 8 pickup truck loads while balancing capacity with accessibility.
For larger renovation debris from significantly damaged structures, the 30-yard container is ideal. It can manage about 12 pickup truck loads of materials.
The 40-yard container is the heavy-duty solution for demolition or whole-house rehabilitation. This largest option accommodates approximately 16 pickup truck loads.
Evaluating Debris and Material Types
Disaster debris includes building materials like drywall, roofing, and wood framing. You’ll also encounter household contents, landscaping waste, and water-damaged possessions.
Understanding material types helps planners estimate volumes more accurately. Waterlogged materials weigh more, while compressed debris takes less space. Hazardous materials require separate handling protocols for safe disposal.
Assessing Debris and Site Requirements After Disasters
The success of your cleanup operation hinges on choosing the right location for waste collection containers. You need to evaluate the entire area carefully before making placement decisions.
Start with a thorough site inspection. Look for damaged infrastructure and unstable ground conditions. Identify debris-blocked access routes that could hinder operations.
Site Inspection and Space Utilization
Select locations on higher ground to prevent flooding complications. Drainage systems may be compromised after severe weather events.
Choose flat, solid surfaces like intact driveways or paved areas. Soft ground can sink under heavy loads, especially when saturated.
Check overhead clearance carefully. Look for damaged tree branches and compromised power lines. Unstable building overhangs pose additional risks.
Allow approximately 50 feet of clear space in front of the placement zone. This gives delivery trucks room to maneuver safely in disrupted environments.
| Site Condition | Recommended Action | Risk Level |
| Soft, saturated ground | Use paved surfaces only | High |
| Area near trees/power lines | Maintain 30-foot clearance | Medium |
| Flat, solid driveway | Ideal placement location | Low |
| Higher elevation area | Priority selection | Low |
Local Regulations and Clearance Needs
Research local requirements before deployment. Some jurisdictions need permits for street placement even during crisis situations.
Coordinate with emergency operations to avoid interference. Keep containers away from medical staging areas and rescue vehicle routes.
Know that declared emergencies may bring temporary waivers. However, advance knowledge prevents deployment delays when rapid response becomes necessary.
Selecting the Ideal Dumpster Size for Emergency Response
Choosing the correct rolloff capacity transforms chaotic debris removal into organized efficiency. Your 2026 planning should match each disaster scenario with the right container option.
Start by estimating debris volume in pickup truck loads. This visual approach helps planners select appropriate sizes for different situations.
| Container Size | Truck Load Capacity | Best Use Cases |
| 10-yard | 3-4 loads | Single-home damage, localized flooding |
| 15-yard | 6 loads | Roof repairs, moderate water damage |
| 20-yard | 8 loads | Multi-room cleanup, versatile response |
| 30-yard | 12 loads | Multi-unit properties, community points |
| 40-yard | 16 loads | Demolition, widespread disaster zones |
Weight and Space Considerations
Remember that debris weight matters as much as volume. Heavy materials like concrete reach limits faster than lighter items.
Urban areas often need multiple smaller containers. Rural locations can typically handle larger units. Always verify delivery access before finalizing your rental choices.
Flexible planning with varied sizes lets teams adapt to actual conditions. This approach prevents bottlenecks and optimizes resource use during critical response operations.
Emergency Dumpster Preparation: Key Safety and Loading Techniques
Keeping your team safe during debris removal requires smart loading strategies and proper protective gear. Disaster sites present unique hazards that demand careful attention to detail.
Optimal Weight Distribution and Secure Loading Methods
Proper loading starts with placing heavy items at the bottom. This creates a stable base for lighter materials. Distribute weight evenly to prevent shifting during transport.
Break down large objects before loading. This saves space and reduces protruding hazards. Wrap sharp edges in cardboard to protect workers from injuries.
| Material Type | Loading Position | Safety Precautions |
| Heavy construction debris | Bottom layer | Use mechanical lifts for items over 50 lbs |
| Sharp metal objects | Middle section | Wrap edges, bundle pieces together |
| Light debris | Top layer | Compact gently, avoid overfilling |
| Waterlogged materials | Spread evenly | Account for extra weight, partial loads |
Using Protective Gear to Enhance Personnel Safety
Every team member needs heavy-duty gloves and safety goggles. Hard hats protect against falling debris in unstable areas. Steel-toed boots prevent crushing injuries from heavy materials.
Establish clear zones around active loading areas. Designate traffic patterns to prevent collisions. Watch for overload signs like bulging sidewalls or difficulty closing lids.
Securing Dumpster Rentals in High-Wind and Hazardous Conditions
High winds during disaster recovery can turn unsecured containers into dangerous projectiles. These conditions create additional risks for people and property in the affected area.
Proper anchoring prevents containers from becoming hazards. You need a solid strategy for these challenging situations.
Implementing Anchoring and Stabilizing Best Practices
Use industrial-grade chains or heavy-duty straps to secure your containers. Attach them to stable structures like building foundations or concrete barriers.
Inspect anchor points carefully. Disaster-damaged structures may not provide adequate support. Consider alternative options like deeply driven ground stakes.
Add ballast weight inside containers before positioning them. Use sandbags or concrete blocks distributed evenly across the floor. This prevents tipping while maintaining capacity for debris collection.
Mitigating Wind Exposure and Protecting Surrounding Areas
Position containers with their shortest side facing prevailing winds. This reduces surface area exposed to wind pressure.
Create temporary windbreaks using heavy-duty tarps or fencing. These barriers deflect airflow in open areas lacking natural protection.
Monitor weather forecasts continuously during response operations. Conditions can deteriorate rapidly, requiring quick adjustments.
Conduct frequent inspections of anchors and surrounding areas. Check for compromised power lines and unstable branches. Maintain wide clearance zones around electrical hazards.
Efficient Waste Management and Cleanup Strategies for Emergencies
How you pack debris makes all the difference between smooth operations and logistical nightmares. Smart loading techniques maximize your available space and keep removal operations running efficiently.
Layering and Compacting Debris to Maximize Space
Start with heavy, flat items like furniture and structural lumber at the bottom. This creates a stable foundation that won’t shift during loading.
Fill gaps between larger pieces with smaller debris and bagged waste. Break down items whenever possible to compress volume. Long materials like boards work well as platforms for additional stacking.
Preventing Overfill and Ensuring Clearance for Pickup
Stop loading when debris reaches the container rim. Overfilled units create transport hazards and may be rejected. Watch for bulging sidewalls or materials protruding above the top.
Maintain clear access paths for collection vehicles. Coordinate multiple smaller loads rather than overpacking single containers. This approach prevents bottlenecks in ongoing cleanup work.
Integrating Best Practices for Construction and Demolition Waste Handling
Construction waste from damaged buildings presents unique challenges that demand careful handling. We need to separate acceptable materials from hazardous items that require special protocols.
Differentiating Materials and Identifying Prohibited Items
Acceptable construction debris includes bricks, concrete, lumber, and drywall. Roofing materials, flooring, and insulation can go into standard containers without special precautions.
Plumbing fixtures and scrap metals like aluminum and copper are generally acceptable. Clean soil and rocks work too if they’re uncontaminated.
Watch out for prohibited items that create safety hazards. Asbestos from older buildings needs specialized disposal. Chemical containers, paints, and solvents require hazardous waste facilities.
Electronics contain harmful substances needing e-waste programs. All battery types can leak dangerous materials. Tires present fire risks and need separate collection.
Appliances with Freon require professional coolant recovery first. This prevents environmental damage during disposal.
Streamlining Debris Removal and Site Organization
Establish designated zones for different waste categories on your site. This prevents prohibited items from contaminating acceptable debris.
Pre-sorting materials by type improves loading efficiency. Separate wood, metal, and concrete into different areas. This approach maximizes space utilization in your containers.
Create clear pathways between debris sources and collection points. Position equipment to minimize double-handling of materials. These steps save time and reduce injury risks.
Coordinate with other response teams working in the same areas. Ensure waste management doesn’t interfere with utility restoration or structural assessment crews.
Systematic organization accelerates overall recovery efforts. It clears access for reconstruction teams and returns properties to functional condition faster.
Disaster-Ready Planning Saves Communities
Effective emergency dumpster preparation requires understanding disaster-specific challenges like waterlogged materials, contaminated debris, and coordinated response operations that separate successful recovery from chaotic cleanup efforts. Container sizing strategies, site safety protocols, and pre-disaster agreements transform waste management from a potential bottleneck into a critical recovery asset.
At Prime Dumpster, our team is ready to help you develop comprehensive emergency response protocols that address container requirements, safety procedures, and coordination strategies. Contact us to create emergency dumpster preparation plans that support your disaster response capabilities and ensure rapid deployment when communities need immediate debris removal assistance.
If you are looking for Planning Guide to Dumpster Rentals for Campuses in 2026, Click Here
Recent Posts


Follow Us
Have any questions?
+1 844 853 3867
Give us a call today so we can help you find the right waste & sanitation solution for
your project!
Contact Us